This post will walk you through the process of setting up a Backstage project with MkDocs and adding Mermaid diagram support.
Setting Up Required Services Link to heading
First, let’s create the project directory backstage-demo with docker-compose.yml file to set up all necessary services:
# docker-compose.yml
services:
  postgres:
    image: postgres:13
    ports:
      - "5432:5432"
    environment:
      - POSTGRES_USER=backstage
      - POSTGRES_PASSWORD=backstage
      - POSTGRES_DB=backstage
    volumes:
      - postgres_data:/var/lib/postgresql/data

  localstack:
    image: localstack/localstack:s3-latest
    ports:
      - "4566:4566"
    environment:
      - PERSISTENCE=1
    volumes:
      - localstack_data:/var/lib/localstack/

  kroki-core:
    image: yuzutech/kroki:0.27.0
    environment:
      - KROKI_MERMAID_HOST=kroki-mermaid
    ports:
      - "8000:8000"

  kroki-mermaid:
    image: yuzutech/kroki-mermaid:0.27.0
    ports:
      - "8002:8002"

volumes:
  postgres_data:
  localstack_data:
This configuration sets up:
- PostgreSQL: For storing Backstage data
- LocalStack: For local S3 storage simulation
- Kroki: For rendering Mermaid diagrams
- Kroki-Mermaid: Dedicated service for Mermaid diagram processing
The project directory backstage-demo will have the following initial structure:
backstage-demo/
├── docker-compose.yml
Setting Up Backstage Link to heading
First we need to create a new Backstage Application by following the official Backstage Getting Started guide:
npx @backstage/create-app@latest
This will create a new Backstage application in the backstage directory. The project structure now should look like this:
backstage-demo/
├── backstage
├── docker-compose.yml
Next, we need to configure the Backstage application by adding the following configuration to app-config.local.yaml in your Backstage directory:
# backstage/app-config.local.yaml
app:
  baseUrl: http://localhost:3000

backend:
  baseUrl: http://localhost:7007
  listen: ':7007'
  database:
    client: pg
    connection:
      host: ${POSTGRES_HOST}
      port: ${POSTGRES_PORT}
      user: ${POSTGRES_USER}
      password: ${POSTGRES_PASSWORD}

auth:
  providers:
    guest:
      dangerouslyAllowOutsideDevelopment: true
This configuration:
- Sets the frontend base URL to
http://localhost:3000 - Configures the backend to listen on port
7007 - Sets up PostgreSQL database connection
- Enables guest authentication for development
Now, we need to export the required environment variables which are defined in the app-config.local.yaml file:
export POSTGRES_HOST=localhost
export POSTGRES_PORT=5432
export POSTGRES_USER=backstage
export POSTGRES_PASSWORD=backstage
Start up all backing services
docker-compose up -d
Install the dependencies and start the Backstage application:
cd backstage
yarn install
yarn start
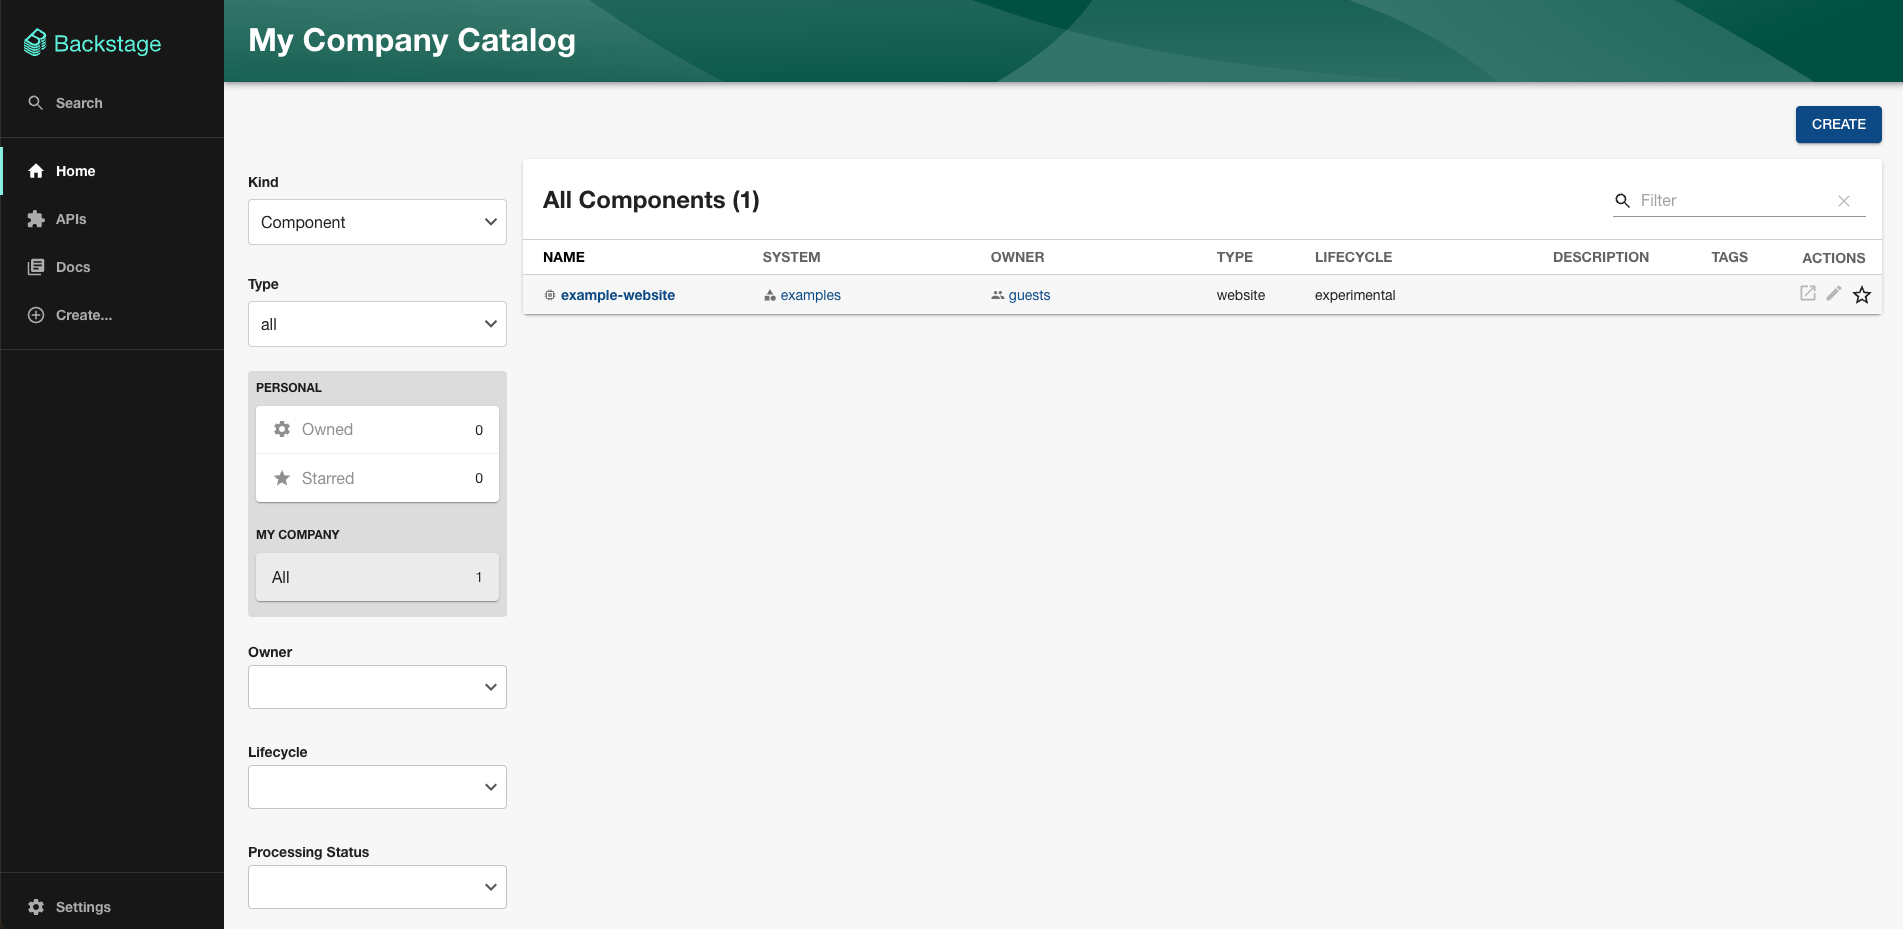
Once started, you can access Backstage at http://localhost:3000.
Configuring TechDocs Link to heading
By default, Backstage uses the techdocs-core plugin to build and publish documentation at runtime. In the real world, the documentation could be more complex and the build process will take longer. To reduce time that Backstage spends on building the documentation, we will use the awsS3 publisher.
Add the following configuration to app-config.local.yaml:
# backstage/app-config.local.yaml
techdocs:
  builder: 'external'
  publisher:
    type: 'awsS3'
    awsS3:
      bucketName: ${AWS_TECHDOCS_S3_BUCKET}
      region: ${AWS_REGION}
      endpoint: ${AWS_ENDPOINT}
      credentials:
        accessKeyId: ${AWS_ACCESS_KEY_ID}
        secretAccessKey: ${AWS_SECRET_ACCESS_KEY}
Set the required environment variables which are defined in the app-config.local.yaml file:
export AWS_TECHDOCS_S3_BUCKET=backstage-techdocs
export AWS_REGION=us-east-1
export AWS_ENDPOINT=http://localhost:4566
export AWS_ACCESS_KEY_ID=AKIAIOSFODNN7EXAMPLE
export AWS_SECRET_ACCESS_KEY="wJalrXUtnFEMI/K7MDENG/bPxRfiCYEXAMPLEKEY"
Create the S3 bucket and verify its existence:
aws s3 mb s3://backstage-techdocs --endpoint-url http://localhost:4566
aws s3 ls s3://backstage-techdocs --endpoint-url http://localhost:4566
Now, if you restart Backstage, you could see the following logs indicating that the awsS3 publisher is working:
2024-04-14T21:25:31.911Z techdocs info Creating AWS S3 Bucket publisher for TechDocs
2024-04-14T21:25:31.911Z techdocs info Successfully created AWS S3 Bucket publisher for TechDocs
Creating Documentation Link to heading
Now, we will create a simple documentation for the project with MkDocs, build it locally and publish it to the S3 bucket.
Create the mkdocs.yml file and docs directory as following directory structure:
backstage-demo/
├── backstage
├── docker-compose.yml
├── mkdocs.yml
└── docs
    ├── index.md
    ├── lists.md
    └── text-formating.md
The mkdocs.yml file is a configuration file for MkDocs. It defines the site name, description, plugins, and navigation.
# mkdocs.yml
site_name: example-website
site_description: Example Website
plugins:
- techdocs-core
nav:
- Home: index.md
- Text Formatting: text-formating.md
- Lists: lists.md
The docs directory contains the documentation files with the following content:
# docs/index.md
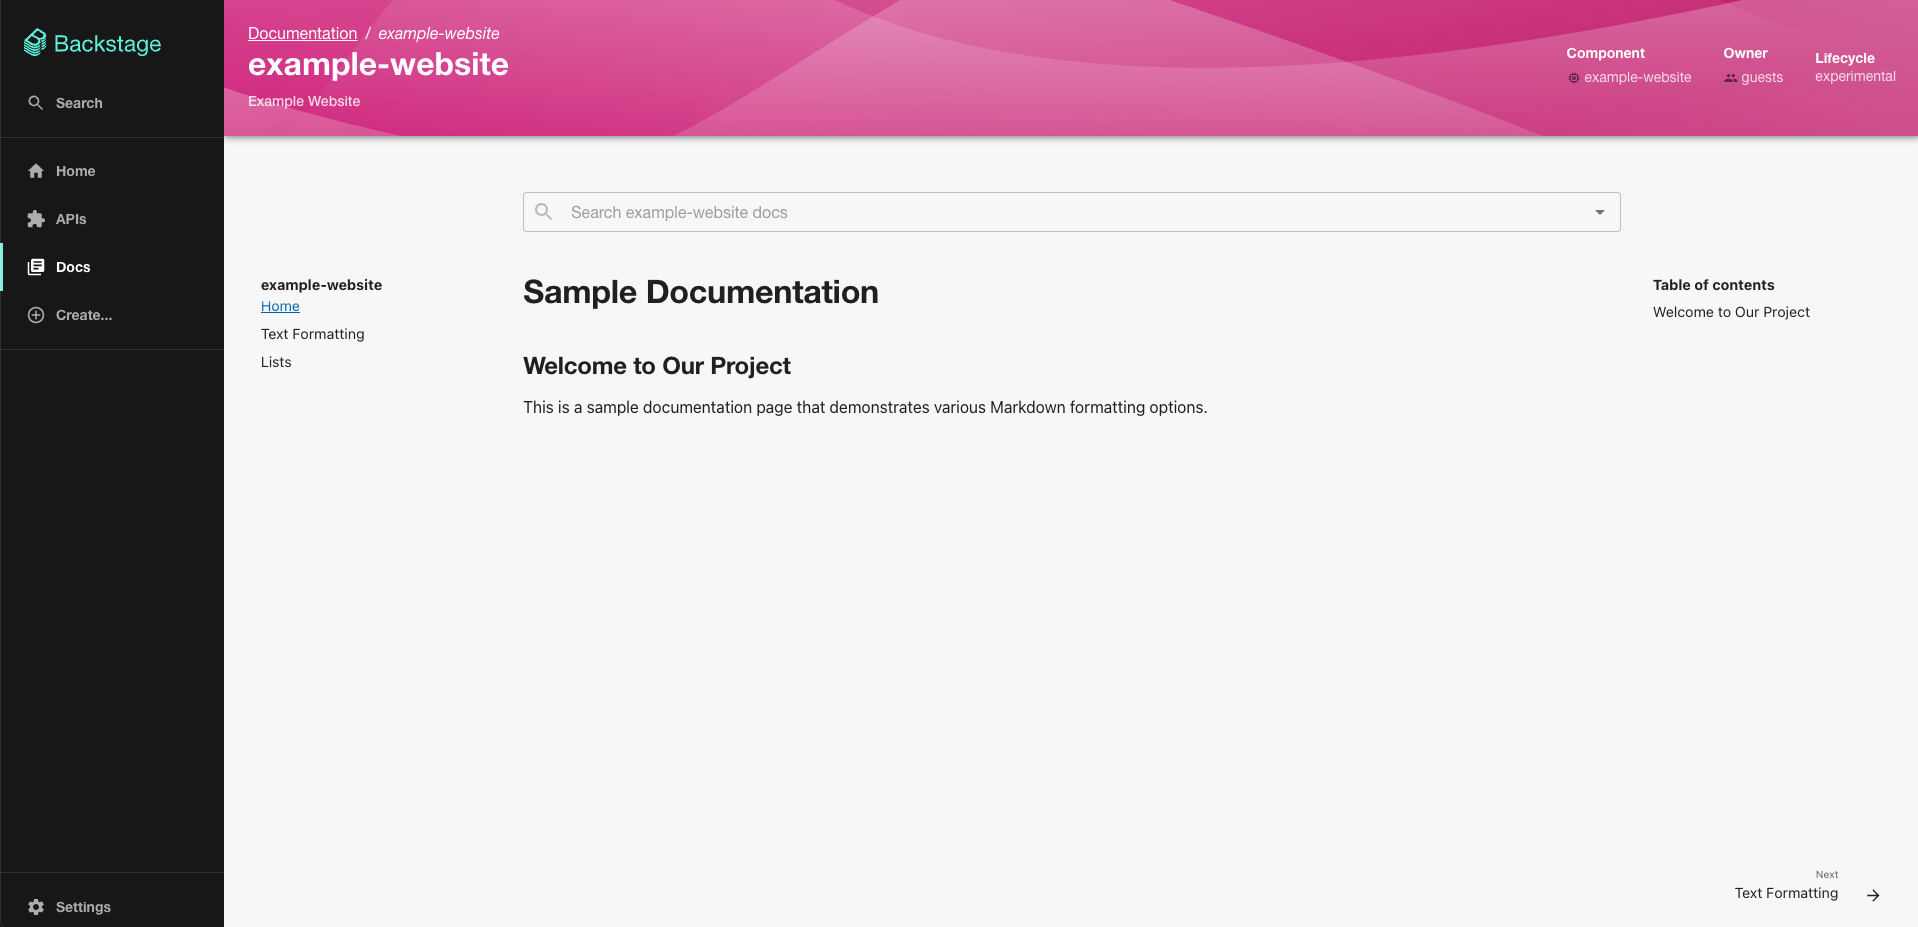
# Sample Documentation
## Welcome to Our Project
This is a sample documentation page that demonstrates various Markdown formatting options.
# docs/text-formating.md
# Text Formatting
You can make text **bold**, *italic*, or ***both***. You can also add ~~strikethrough~~ text.
# docs/lists.md
# Lists
Here's an unordered list:
- First item
- Second item
- Sub-item 1
- Sub-item 2
- Third item
And a numbered list:
1. First step
2. Second step
3. Third step
Set up a Python virtual environment to install MkDocs and its plugins:
virtualenv .venv
source .venv/bin/activate
pip install mkdocs mkdocs-techdocs-core
Generate the documentation:
npx @techdocs/cli generate --no-docker
info: Using source dir ~/backstage-demo
info: Will output generated files in ~/backstage-demo/site
info: Generating documentation...
info: Successfully generated docs from ~/backstage-demo into ~/backstage-demo/site using local mkdocs
info: Done!
Publish the rendered documentation to the S3 bucket:
npx @techdocs/cli publish \
  --publisher-type awsS3 \
  --storage-name backstage-techdocs \
  --awsEndpoint http://127.0.0.1:4566 \
  --entity default/Component/example-website
info: Creating AWS S3 Bucket publisher for TechDocs
info: Successfully connected to the AWS S3 bucket backstage-techdocs.
info: Successfully uploaded all the generated files for Entity example-website. Total number of files: 46
info: Successfully deleted stale files for Entity example-website. Total number of files: 0
Now, if you navigate to the Backstage documentation page, you should see the documentation that we just published:
Adding Mermaid Support Link to heading
To add Mermaid support to the documentation, we will use kroki to render the diagrams.
First, add the kroki plugin to the mkdocs.yml configuration:
plugins:
- techdocs-core
- kroki:
    ServerURL: http://127.0.0.1:8000
Install the MkDocs Kroki plugin:
source .venv/bin/activate
pip install mkdocs-kroki-plugin
Create a new file docs/mermaid-diagrams.md with sample diagrams:
# docs/mermaid-diagrams.md
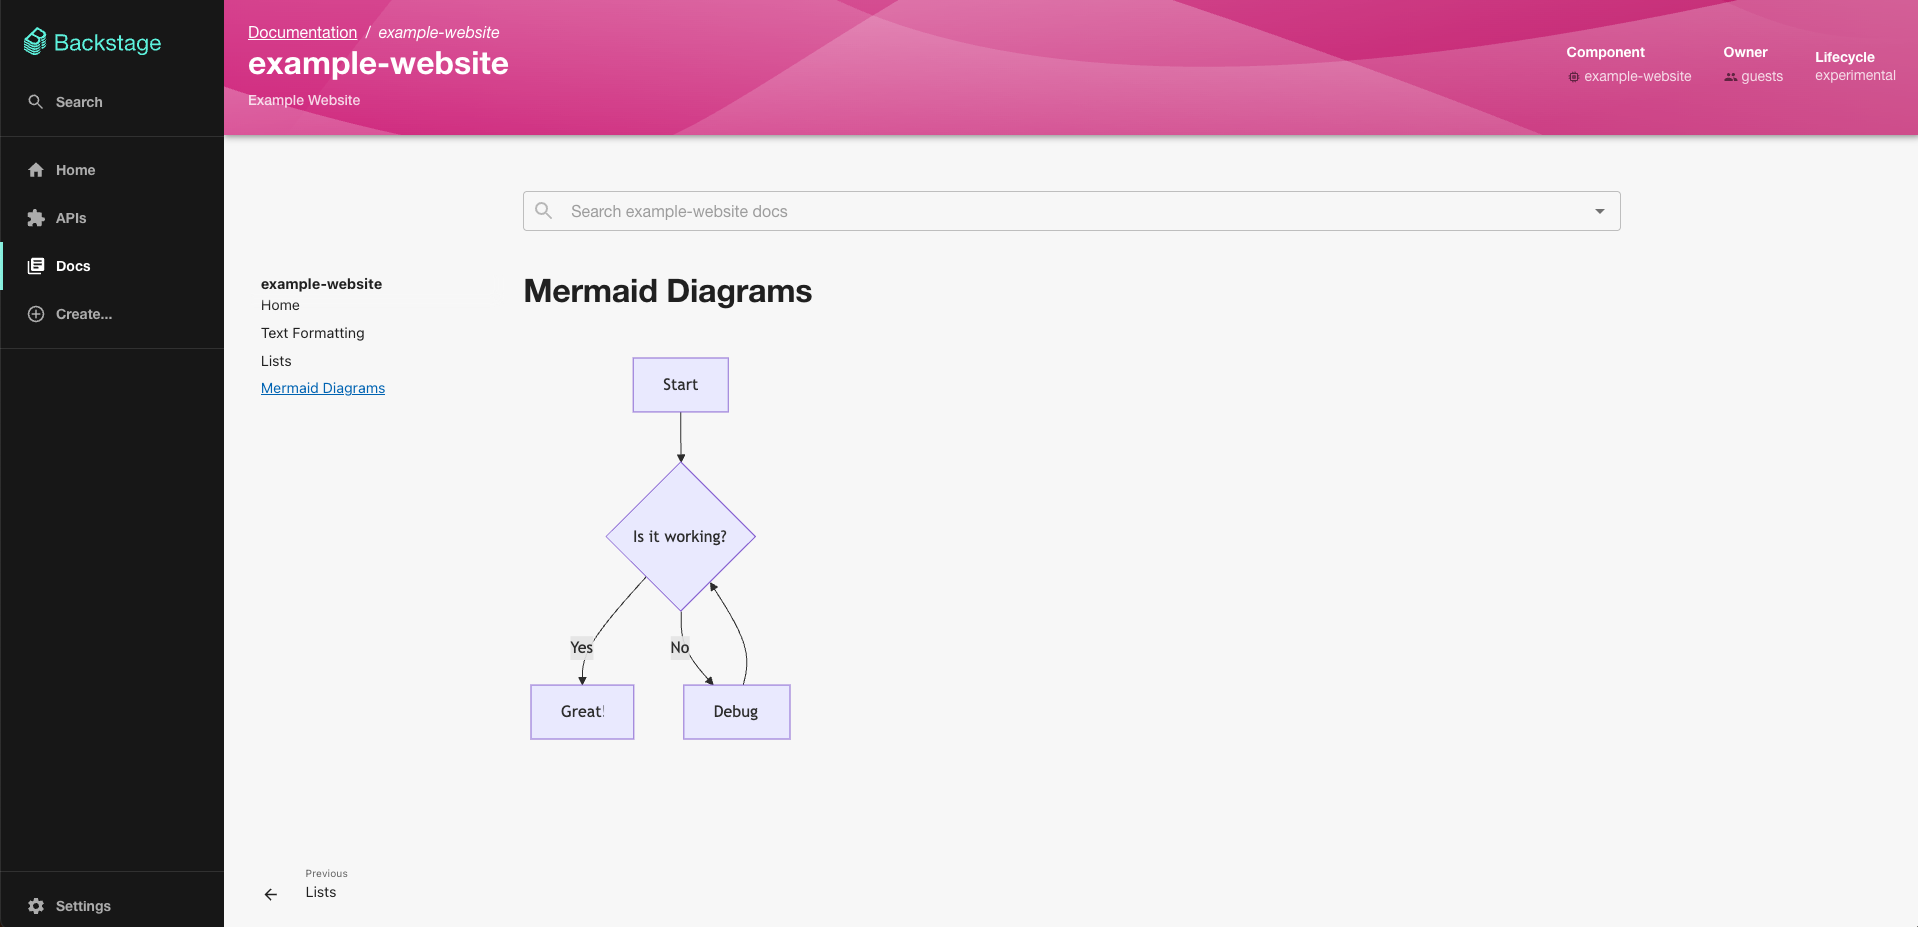
# Mermaid Diagrams
## System Architecture
```kroki-mermaid
graph TD
A[Client] --> B[Backstage]
B --> C[MkDocs]
C --> D[Documentation]
```
Regenerating and publishing the documentation:
npx @techdocs/cli generate --no-docker
npx @techdocs/cli publish \
  --publisher-type awsS3 \
  --storage-name backstage-techdocs \
  --awsEndpoint http://127.0.0.1:4566 \
  --entity default/Component/example-website
Now, if you navigate to the Backstage documentation page, you should see the diagrams that we just added: